How Can I List My Project?
Through Dexlyn’s IDO platform, you can raise funds for your projects after going through a vetting process.
How to list a project on Dexlyn?
-
First, go to Dexlyn’s IDO page here .
-
Connect your wallet if you haven’t already. You can find a much more helpful guide on how to do that here.
-
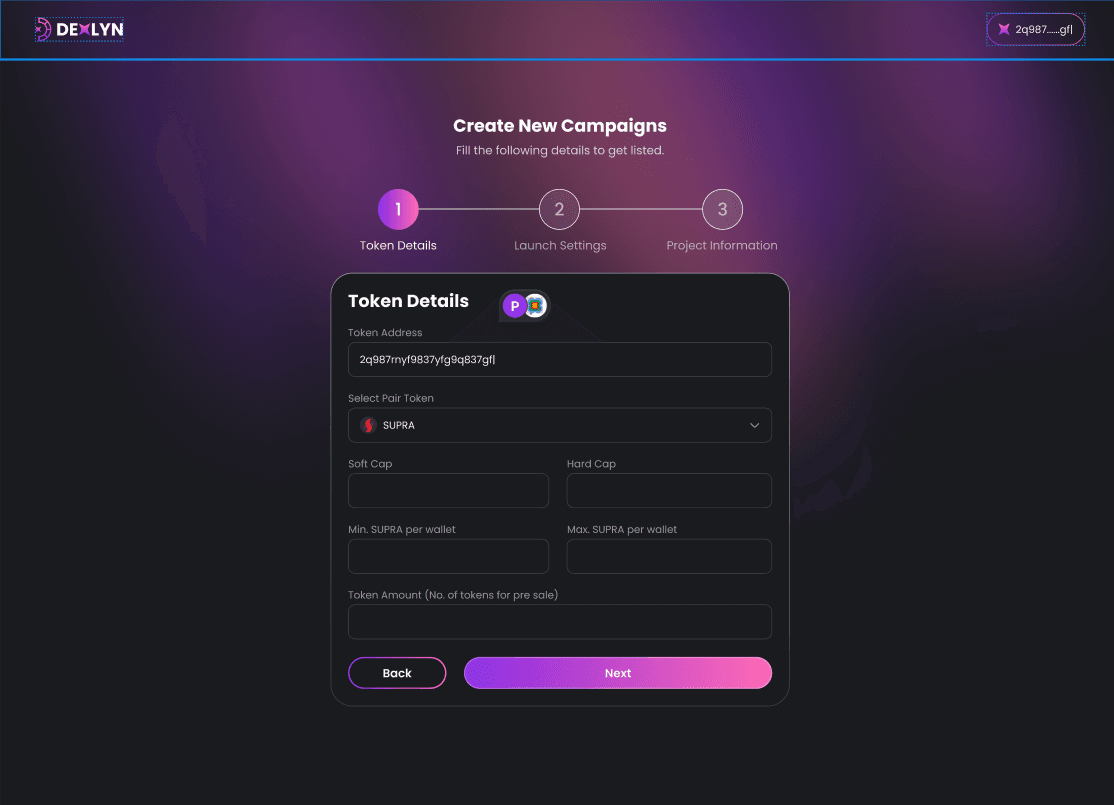
Then, once you’re on IDO landing page, click “Create New”.
-
Now, enter your token details; which includes
a. Your token’s address.
b. Selecting a Pair token, which is a crucial step of selecting a base currency because it establishes how your projects token would be traded and value on Dexlyn.
c. Your project’s Soft Cap, which is the minimum capital your project would need to be operational.
d. Hard Cap, which refers to the total amount to be raised.
e. Minimum tokens per wallet, the minimum requirement of the amount of tokens that a user has to purchase while participating, represented in SUPRA token values.
f. Maximum tokens per wallet, the maximum amount of tokens a user can purchase while participating, represented in SUPRA token.
g. Token Amount, the maximum number of tokens during the IDO. You can find a helpful guide on how to determine that here.
h. When you’re satisfied with your answers, click ‘Next’.
-
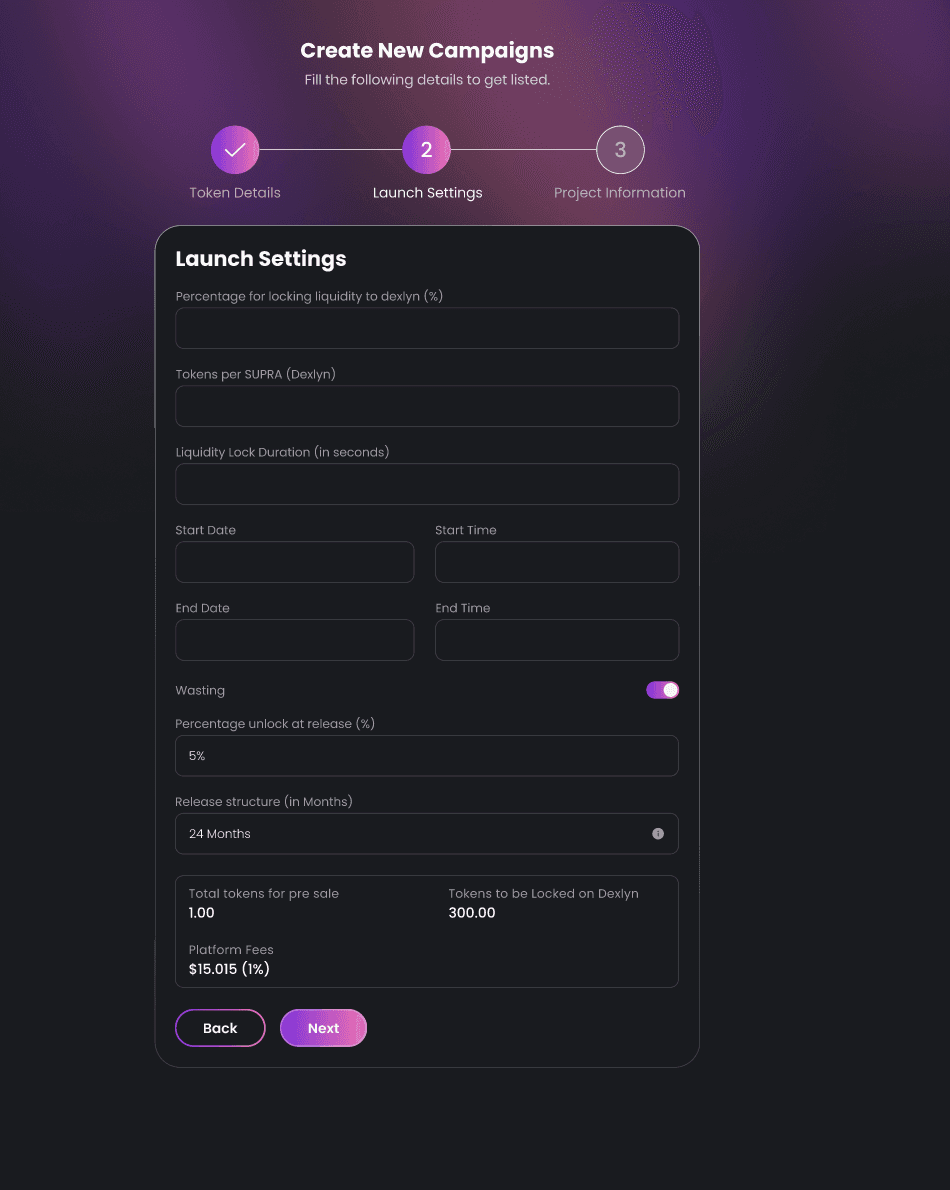
Next, you configure the Launch Settings
a. Percentage for locking liquidity to Dexlyn defines how much of the raised liquidity will be locked in Dexlyn’s pools.
b. Then, Tokens per SUPRA defines the exchange ratio between your projects token and SUPRA.
c. Liquidity Lock Duration refers to the period during which the liquidity provided for a token is secured and cannot be withdrawn by the project developers.
d. Next, define the Start Date of the funding round, and the End Date.
e. Trigger Vesting on or off, as per your project’s needs.
f. Define the Percentage being unlocked at the project’s release.
g. Define the Release Structure in months.
h. Review the details in the dialog box below, and click on Next.
-
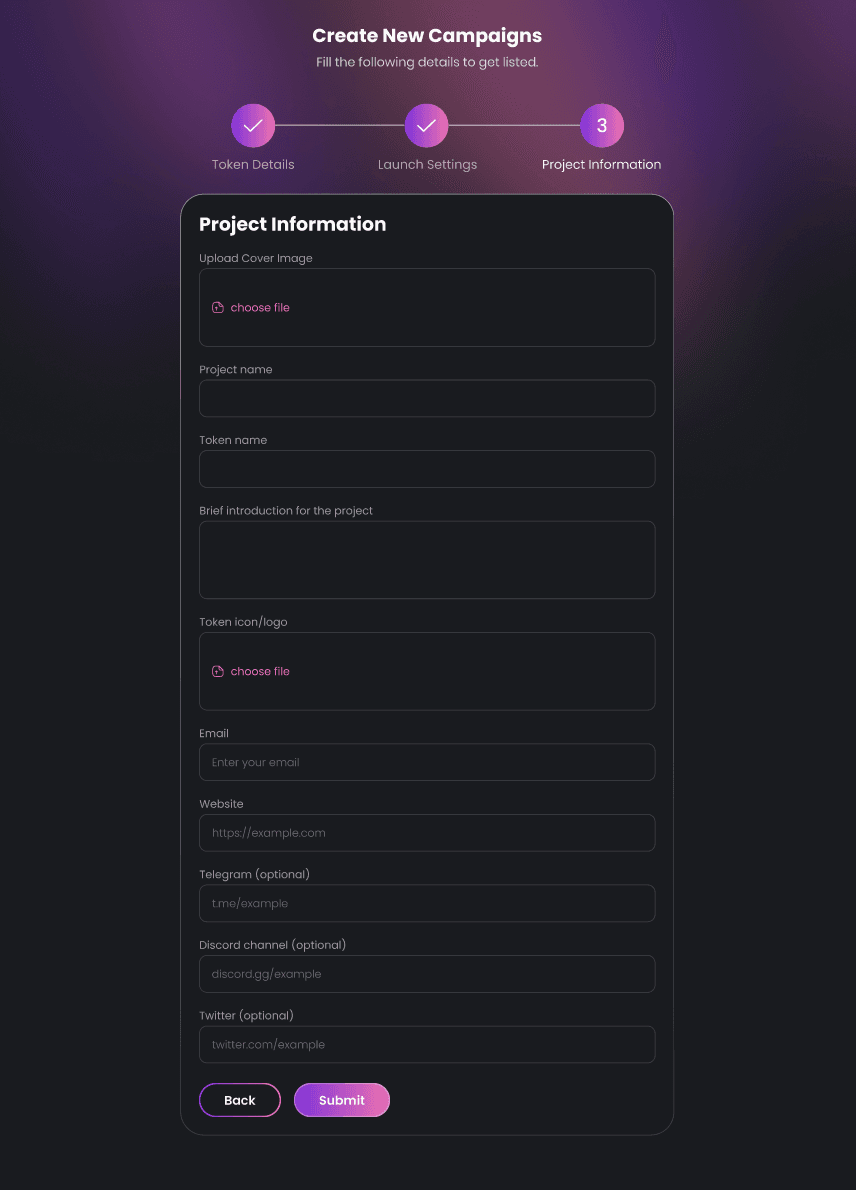
Next, add your Project Details
a. Upload your cover image.
b. Your project’s name.
c. Token’s ticker.
d. Introduction.
e. Token Icon.
f. Website.
g. Telegram Group (optional).
h. Discord Channel (optional).
i. Twitter (optional). -
Once you’re done, hit Submit
It’s that simple!
Once you submit your project on Dexlyn, the Dexlyn team will review the project details to ensure compliance with their listing criteria.
They will verify the project’s legitimacy, conduct necessary checks, and either approve or reject it based on their assessment. During this review process, the team will also define the platform fees applicable to your project.
If your project is approved, you can check its status in the “My Campaign” section, where it will be marked as “Approved”.
Once approved, you will see a “Ready to Deploy” button. Clicking this button will allow you to deploy your project for the Token Sale, making it live for investors to participate. 🚀
At this point, the tokens allocated for sale, the required amount to be locked in DEX for liquidity, and the platform fees will be deducted as defined by the Dexlyn team.